Lost Wax Process - Altavision
Main menu:
Step 1
Inject molten wax into a die and water cool the die. When the wax is hard, open the dies and remove the wax model, which is an exact replica of the item. This is a special foundry wax.

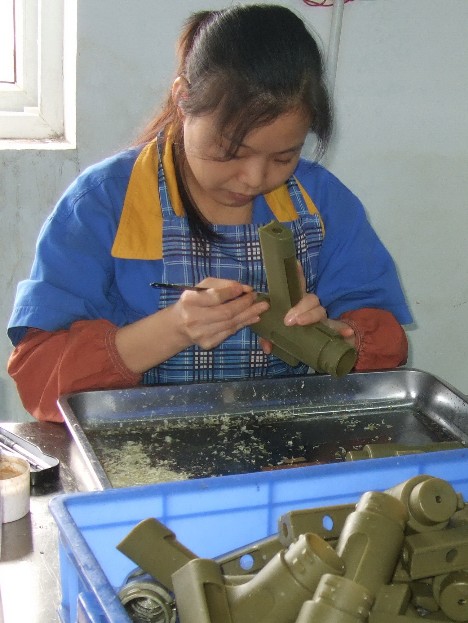
Step 2
Trim the wax model of fins formed from the joint line of the dies. Then solder this wax model onto a wax bar with more wax models to form a 'Wax Tree'.
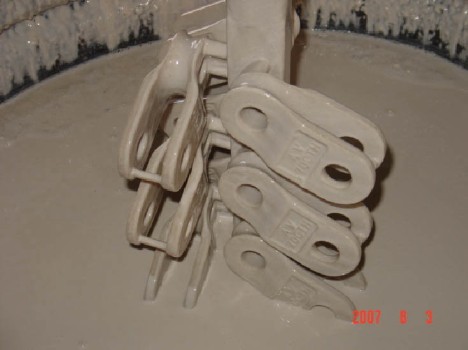
Step 3
Coat the wax tree with a very fine ceramic powder slurry and allow it to dry. This forms the first layer of the shell mould. This fine coating reproduces all the intricate details of the wax model to give a very smooth finish compared to sand moulded castings.
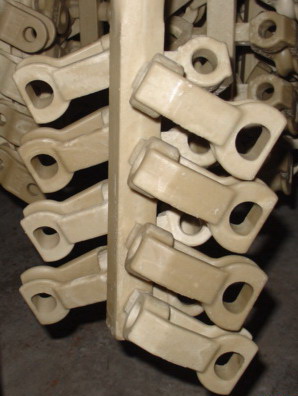
Step 4
The mould is built up by coating it with progressively coarser coatings. Coatings are dried between applications, making this a slow process. The final 'Shell Mould' will be made up of 4 to 7 layers, depending on the size and weight of the casting.
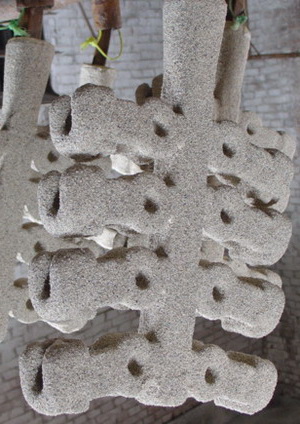
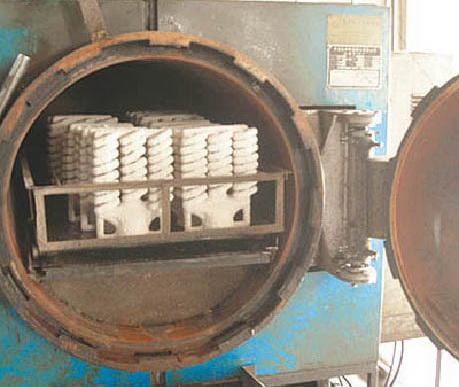
Step 5
The wax is melted out of the dried shells in an oven. The hollow shell mould now has internal cavities which are exact replicas of the wax model. This heating process also imparts strength to the mould permitting storage for a long time.
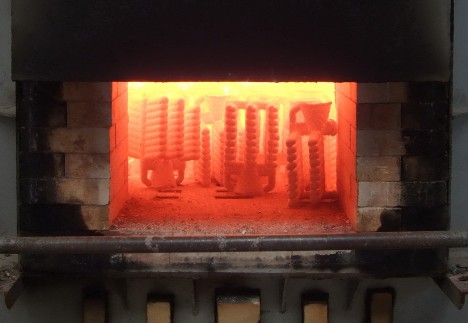
Step 6
When the moulds are due to be poured, they are baked in a furnace to red heat. This dries them out fully and creates a glassy bond between the sand particles of the mould, to make the mould hard. The hot moulds are placed before the furnace just before pouring.
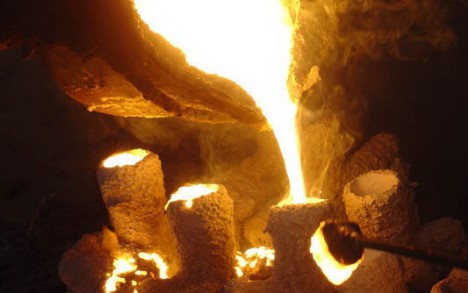
Step 7
Moulten steel is poured into the shell moulds. The moulds are allowed to cool slowly in place and this stress relieves the casting.
Step 8
The moulds are broken off the metal 'tree'. The castings are cut from the ingates and the ingates are ground flush. the castings are heat treated, shotblasted, inspected and then processed further as needed.